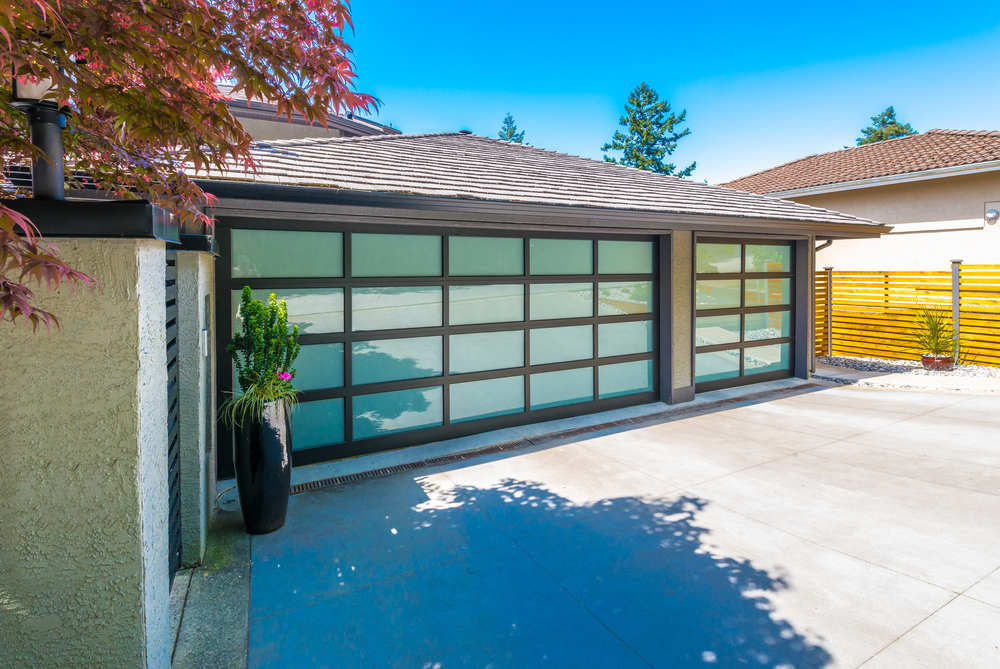
Framing your garage door opening right is key to a smooth install and a snug fit. Whether you’re replacing an old door or building new, solid framing makes all the difference.
In this guide, we’ll break down how to frame a garage door opening step by step so your door doesn’t stick, sag, or let in drafts. Get it right now, avoid headaches later!
How to frame a garage door opening?
To frame a garage door opening, measure the width and height, then build a rectangular frame using pressure-treated lumber. Add headers, studs, and support beams to ensure stability.
Key Takeaways
- Proper framing ensures the garage door fits securely and operates smoothly.
- The process involves measuring the opening, preparing the space, and installing the frame.
- Correct tools and materials are necessary to achieve a professional finish.
Why Proper Framing Is Important for a Garage Door
The framing around your garage door serves as the support structure for the door.
If the frame isn’t aligned or properly installed, the door can become misaligned, which might cause it to operate inefficiently or even get damaged.
Inadequate framing can also affect the door’s insulation, security, and overall appearance.
A well-framed garage door opening will:
- Ensure proper alignment and smooth operation of the door.
- Enhance the durability and security of the garage.
- Provide a good seal for insulation, preventing air leaks and improving energy efficiency.
Tools and Materials You’ll Need
Before you begin framing your garage door opening, make sure you have all the necessary tools and materials. Here’s what you’ll need:
Tools
- Measuring tape
- Level
- Circular saw or reciprocating saw
- Hammer and nails
- Power drill and screws
- Carpenter’s square
- Chalk line (optional)
Materials
- 2×4 lumber or 2×6 lumber for framing
- Header board (typically a 2×6 or 2×8)
- Plywood (if necessary for reinforcement)
- Pressure-treated lumber (for bottom plate)
- Nails or screws
Step-by-Step Guide: How to Frame a Garage Door Opening

Step 1: Measure the Garage Door Opening
The first step in framing a garage door opening is to measure the space accurately. You need to determine the width, height, and depth of the opening.
Width: Measure the width of the garage door, and add at least 2 to 3 inches on each side to allow space for the frame and door operation.
Height: Measure the height from the ground to the top of the door, making sure to account for the headroom that the door will need for smooth operation.
Depth: Measure the depth of the wall, especially if it’s a load-bearing wall. This will help you determine the proper lumber sizes.
Make sure to double-check your measurements to ensure accuracy before moving forward.
Step 2: Remove Any Existing Framing (if applicable)
If you’re replacing an old door, you may need to remove the existing framing. This can involve removing old trim, wood, or metal framing around the door.
Carefully use a saw or hammer to take out any old materials and prepare the opening for the new frame.
Tip: If the existing framing is still in good condition and the door size is the same, you may be able to reuse some of the framing material.
Step 3: Install the Bottom Plate
Start by installing the bottom plate of the frame, which will serve as the base. You’ll want to secure the bottom plate directly to the floor of the garage.
Tip: Use pressure-treated lumber for the bottom plate to prevent damage from moisture over time.
How to Install: Lay the bottom plate in place, ensuring it’s aligned with your measurements. Use screws or nails to fasten it to the concrete floor or wood subfloor.
Step 4: Build the Side Frame
Next, you’ll need to build the side frame, which will consist of two vertical studs. Measure the height of the door opening and cut the studs accordingly.
These vertical studs will be the primary supports for the garage door frame.
How to Install: Position the studs on each side of the opening, ensuring they are plumb (straight up and down).
Secure them in place with nails or screws. If needed, use a carpenter’s square to ensure the studs are perfectly aligned.
Step 5: Add the Header
The header is the horizontal beam at the top of the door frame that helps support the weight of the structure above the door. The size of the header will depend on the width of the opening.
How to Install: Cut a piece of 2×6 or 2×8 lumber to the width of the door opening. Install the header so it rests on the two vertical studs.
Use a level to ensure the header is straight, and secure it with nails or screws.
Step 6: Reinforce the Frame (If Necessary)
For added strength, especially if you have a larger or heavier door, you may need to reinforce the frame.
This can be done by adding additional bracing or using plywood to fill any gaps. The goal is to ensure the frame can support the weight of the garage door over time.
Tip: Adding diagonal braces between the studs can help strengthen the frame and prevent any shifting.
Frequently Asked Questions (FAQs)
1. Can I frame a garage door opening myself?
Yes, framing a garage door opening is a DIY project that many homeowners can handle, provided they have the right tools and experience. However, if you’re unsure, it’s always a good idea to consult a professional.
2. How do I know what size framing materials to use?
The size of your framing materials will depend on the width and height of your door opening. Typically, 2×4 or 2×6 lumber is used for the side frames, while the header may require a 2×6 or 2×8.
3. Do I need a permit to frame a garage door opening?
In most areas, framing a new garage door opening or modifying an existing one requires a permit. It’s important to check with your local building authority to ensure compliance with local building codes.
Conclusion
Framing a garage door opening may seem like a complex task, but with the right tools and knowledge, it can be done effectively. By following these steps, you can ensure that your garage door fits securely and operates smoothly.
Whether you choose to do it yourself or hire a professional, understanding the process will help you make the right choices for your garage door installation. If you’re unsure, don’t hesitate to consult an expert to ensure the job is done properly.

