
Garage door sensors are crucial for ensuring the safety of your home by detecting obstacles in the door’s path.
They prevent accidents like the door closing on your car, pet, or family member.
While installation may seem tricky, our easy guide will help you install these sensors and get your garage door working smoothly and safely! And if you need professional assistance, our garage door sensor service in Hampshire, IL is always ready to help.
How to Install Garage Door Sensors?
To install garage door sensors, mount the sensors on each side of the door frame, align them, and connect the wiring according to the manufacturer’s instructions for proper alignment and function.
Key Takeaways
- Garage door sensors are essential for ensuring safety and preventing accidents.
- Proper alignment and secure wiring are crucial for the sensors to work effectively.
- Troubleshooting sensor issues is easy, but if the problem persists, professional help may be required.
Why Are Garage Door Sensors Important?
Before we dive into the installation process, it’s important to understand why garage door sensors are so vital:
Safety: The primary function of garage door safety sensors is to keep the door from closing if there’s something in the way. This helps prevent injuries and damage to objects, pets, or people.
Convenience: Sensors help the garage door automatically reverse its direction when they detect an obstruction, ensuring that your door doesn’t get damaged by trying to forcefully close.
Regulatory Compliance: In many areas, garage doors are required to have sensors installed to meet safety regulations.
By adding or replacing garage door sensors, you can improve the safety of your home and ensure that your garage door functions properly for years to come.
What You’ll Need to Install Garage Door Safety Sensors
Before starting the installation, you’ll need a few tools and materials to make sure the process goes smoothly:
Materials and Tools:
- New garage door sensors (make sure to choose a compatible model for your garage door opener)
- Screwdriver (usually a Phillips head or flathead)
- Measuring tape
- Level (to ensure the sensors are properly aligned)
- Drill (if you need to make holes for mounting brackets)
- Wire cutters (for cutting and stripping wires)
- Wire nuts (if necessary for connecting the wiring)
- Electrical tape (to secure the wires)
Ensure that your garage door opener has a working sensor system or is compatible with the type of sensors you’re installing.
Step-by-Step Guide to Installing Garage Door Sensors
Installing garage door sensors is a straightforward process, and with a little care and attention to detail, you can get the job done in about an hour.
Follow these simple steps to install or replace your garage door sensors:
Step 1: Disconnect the Power
For safety reasons, always disconnect the power to your garage door opener before working on the sensors.
Unplug the opener from the wall socket or turn off the circuit breaker. This will ensure you don’t accidentally activate the garage door while working on it.
Step 2: Remove the Old Sensors (If Replacing)
If you are replacing old or malfunctioning sensors, start by removing the old ones. Use a screwdriver to take off the mounting brackets holding the sensors in place.
Carefully disconnect the wiring from the old sensors. Remember the color codes for the wiring, as you’ll need to connect the new sensors to the same wires.
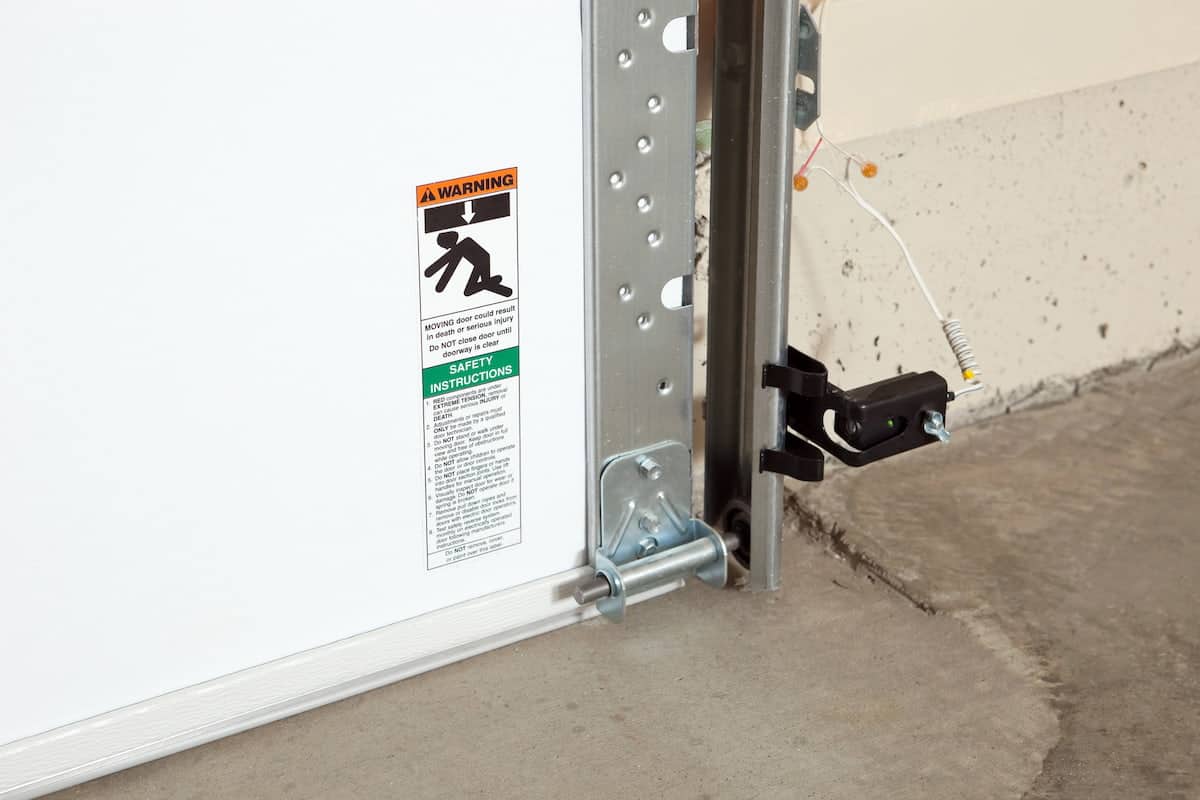
Step 3: Mount the New Sensors
Take the new sensors and decide on the best locations for them on the garage door tracks.
Garage door sensors are typically mounted about 6 inches above the ground, but you can adjust the height depending on the height of your garage door and any potential obstructions.
Measure and mark the position: Use a measuring tape to ensure the sensors are placed at the correct height, and use a level to ensure that the sensors are straight and aligned.
Mount the brackets: Most sensors come with mounting brackets that should be secured using screws.
Use a drill to create small holes for the brackets and then attach them securely to the tracks or nearby wall.
Step 4: Connect the Wiring
Once the sensors are mounted in place, it’s time to connect the wires to the sensors. The wires should be connected to the terminals on the sensors, ensuring that the connections are secure.
Strip the wires: If necessary, use wire cutters to strip the ends of the wires, exposing the metal inside.
Connect the wires: Match the wires from the sensor to the corresponding wires from the opener, typically marked as “white” for one sensor and “colored” for the other. Use wire nuts to secure the wires, ensuring that they are tightly connected.
Secure the wires: Use electrical tape to secure the wires along the track or wall, preventing them from getting in the way of the door’s operation.
Step 5: Align the Sensors
Garage door sensors need to be aligned properly in order to function. If the sensors are misaligned, the door won’t operate correctly, and the safety mechanism will be triggered.
Adjust the sensors: Move the sensors slightly left or right until the LED indicator lights (usually green or red) turn on, indicating that they are aligned correctly.
Test the alignment: Most modern sensors will have an indicator light that shows when they are aligned properly.
If the lights blink or turn off, the sensors are out of alignment, and you need to adjust them until they work correctly.
Step 6: Test the Sensors
Now that your sensors are mounted and aligned, it’s time to test them to ensure they’re working properly.
Reconnect the power: Plug the garage door opener back into the power supply or turn on the circuit breaker.
Test the sensors: Try operating the garage door with the remote control or wall switch.
Stand in front of the sensors and move an object (such as a cardboard box or piece of wood) into their path.
If the sensors are working, the door should reverse immediately, demonstrating that the safety system is functioning correctly.
Check the alignment again: If the door doesn’t reverse when something is in its path, recheck the sensor alignment.
Step 7: Final Check
Once you’ve tested the sensors and confirmed that everything works, give the sensors and their wiring a final check to make sure everything is secure and functioning.
What to Do If the Sensors Are Not Working
If the sensors aren’t working after installation, there could be a few reasons for the issue:
Alignment problems: Even a slight misalignment can cause the sensors to malfunction. Double-check that the sensors are perfectly aligned with each other.
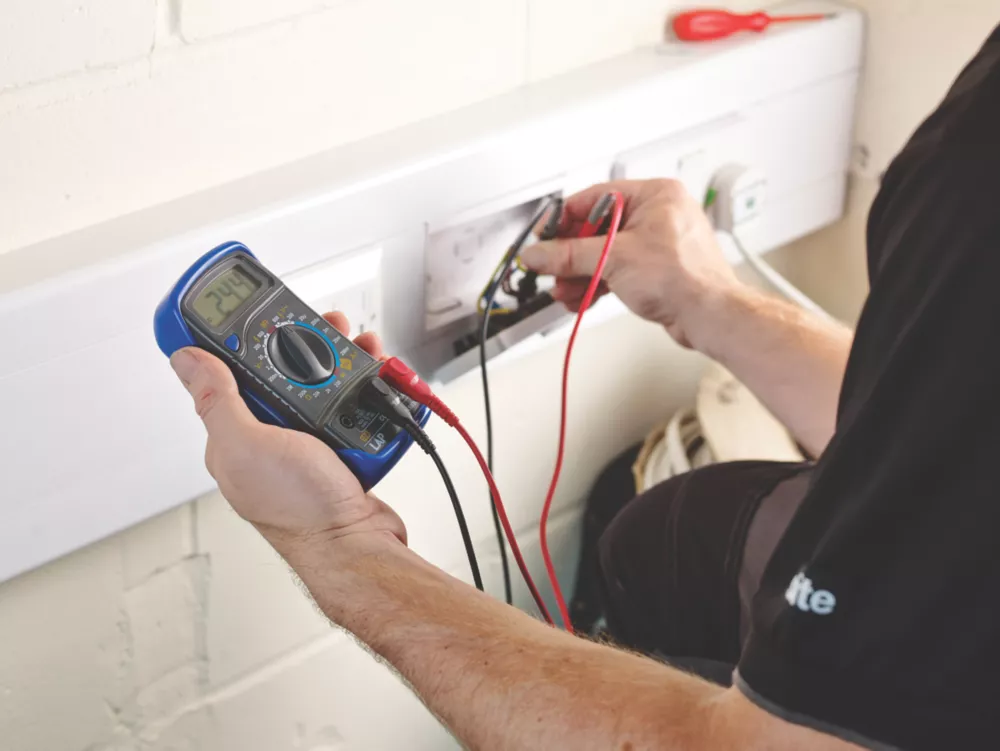
Wiring issues: Make sure the wires are securely connected and that there are no loose connections.
Obstructions: Check for any obstructions between the sensors, such as dirt, debris, or spider webs, which could interfere with the sensor’s functionality.
For emergency garage door repair in Elburn, IL, rely on our expert technicians to quickly diagnose and fix sensor issues or any other malfunction. We ensure your garage door operates safely and efficiently. Contact us for prompt, reliable service.
Frequently Asked Questions
1. How high should I install garage door sensors?
Garage door sensors are usually installed about 6 inches above the ground. However, you can adjust the height depending on the size of your garage and the clearance needed for vehicles or pets.
2. How do I know if my garage door sensors are aligned?
If your sensors are properly aligned, the indicator lights on both sensors will be solid green. If one or both of the lights are off or blinking, the sensors are misaligned and need adjustment.
3. Can I replace my garage door sensors myself?
Yes, replacing and installing garage door sensors is a relatively simple DIY task. Just be sure to follow the steps carefully and consult your garage door opener’s manual for any specific instructions.
Conclusion
Installing garage door sensors is an important step toward enhancing your home’s safety and ensuring that your garage door operates smoothly.
With the right tools, a little patience, and following the steps outlined in this guide, you can easily install or replace your garage door sensors and have your system working perfectly in no time.
Regular maintenance and troubleshooting of your garage door sensors will keep them in top condition, ensuring that your garage is always safe for you, your family, and your vehicles. For peace of mind and dependable service, consider hiring a top-rated garage door repair service in Wayne, IL, to handle all your maintenance and repair needs professionally.
Read more blogs about Emergency Door Repair

