
Garage door rollers are crucial for smooth operation, helping the door glide along its tracks.
Over time, they can wear out, leading to noise and poor function. Replacing them is straightforward, but requires the right tools and safety measures.
This guide will walk you through the steps to replace your garage door rollers and restore quiet, smooth operation.
How to replace garage door rollers?
To replace garage door rollers, lift the door slightly, remove the old rollers from the tracks, and replace them with new ones. Make sure the tracks are clear and lubricated for smooth movement.
Key Takeaways
- Replacing garage door rollers can improve the door’s performance and reduce noise.
- Regular maintenance of your garage door rollers can extend their lifespan.
- If the rollers are severely damaged or the door is difficult to operate, it may be time to replace them.
Why Should You Replace Your Garage Door Rollers?
Over time, garage door rollers experience wear and tear due to constant friction and movement.
Garage door rollers are an essential component of the door system, allowing the door to move smoothly along its tracks.
Over time, these rollers can wear out, causing the door to function poorly or make loud noises when operating.
Replacing garage door rollers is a relatively simple task, but it requires the right tools and safety precautions.
In this guide, we’ll walk you through the steps to replace your garage door rollers, ensuring your door operates smoothly and quietly once again.
This can lead to issues such as noisy operation, slow door movement, and even the door becoming off-track. Some common signs that your garage door rollers need replacing include:
- The door makes loud grinding or squeaking noises.
- The door struggles to open or close smoothly.
- The rollers are visibly worn, cracked, or damaged.
Replacing your garage door rollers is an important part of maintenance, ensuring that your garage door operates properly and safely.
When Should You Replace Garage Door Rollers?
While there is no set time frame for replacing garage door rollers, it’s a good idea to inspect them every 1-2 years as part of regular maintenance.
If you notice any of the following signs, it may be time to replace your rollers sooner:
Noise: Excessive noise during operation, such as grinding or squealing, often indicates that the rollers are worn.
Difficulty Opening or Closing: If the door is slow to open or close, or if it feels jerky, the rollers may need replacing.
Visible Damage: If the rollers appear cracked, chipped, or excessively worn, it’s time to replace them.
Tools You’ll Need for the Job
Before you begin replacing your garage door rollers, make sure you have the following tools on hand:
- Replacement garage door rollers (make sure they’re the correct size and type for your door)
- Wrenches and socket set
- Pliers
- Locking pliers or vice grips
- Ladder
- Screwdriver
- Safety glasses and gloves
Having the proper tools will ensure the job goes smoothly and help you avoid injury while working with heavy garage door components.
Step-by-Step Guide to Replacing Garage Door Rollers

Follow these steps to replace your garage door rollers efficiently and safely:
Step 1: Disconnect the Garage Door Opener
Before working on the garage door, you need to disconnect the automatic opener to prevent accidental operation during the garage door repair process.
This will ensure your safety while you’re working on the door.
How to Disconnect
Most garage door openers have a release cord (usually a red handle). Pull the release cord to disconnect the opener from the door. This allows you to operate the door manually.
Step 2: Lift the Garage Door and Secure It
To access the rollers, you’ll need to lift the garage door manually and secure it in place. Use a ladder to carefully lift the door, ensuring it’s high enough for you to access the rollers.
Tip: Use locking pliers or vice grips to secure the door in place while you work. This will prevent it from accidentally falling during the replacement process.
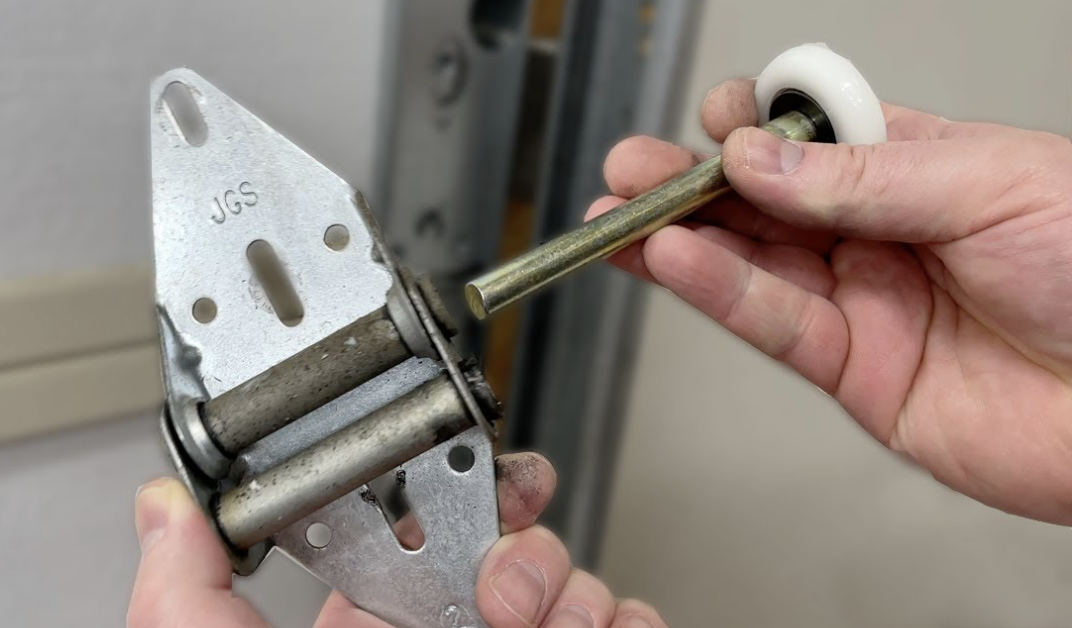
Step 3: Remove the Old Rollers
To remove the old rollers, you will need to disconnect them from the track. Start by using a wrench or screwdriver to remove any bolts or fasteners that hold the rollers in place.
How to Remove
Once the bolts are removed, gently pull the rollers out of the track. Depending on your garage door model, you may need to slightly loosen the track to fully remove the roller.
Step 4: Install the New Rollers
Once the old rollers are removed, it’s time to install the new ones. Position the new rollers into the tracks and make sure they are aligned properly.
Insert the roller axle into the track and secure it with the necessary bolts or fasteners.
How to Install
Make sure the rollers are positioned in the correct direction, with the wheels facing outward.
Tighten the bolts or screws securely, but avoid over-tightening, as this can cause the rollers to malfunction.
Step 5: Check the Door Alignment
After replacing all the rollers, check the alignment of the garage door. Open and close the door manually to ensure that it operates smoothly without any resistance or wobbling.
How to Check
If the door is uneven or difficult to move, adjust the rollers or the tracks to ensure everything is aligned properly.
Step 6: Reconnect the Opener
Once you’ve finished installing the new rollers and checked the alignment, reconnect the garage door opener.
Test the door by operating it with the opener to ensure everything is working properly.
How to Reconnect
Pull the release cord on the opener to reconnect it to the door. Test the door by opening and closing it a few times to ensure smooth operation.
Tips for Maintaining Garage Door Rollers

To extend the lifespan of your garage door rollers and avoid future issues, follow these maintenance tips:
Lubricate Regularly: Apply a silicone-based lubricant to the rollers, tracks, and other moving parts of the door to reduce friction and prevent wear.
Inspect Periodically: Regularly check the rollers for signs of wear, damage, or misalignment. If you notice any issues, address them immediately to prevent further damage.
Clean the Tracks: Clean the tracks regularly to remove dirt, debris, and grime that can impede the rollers’ movement.
When to Call a Professional
While replacing garage door rollers can be a DIY job, there are times when it’s best to call in a professional.
If you’re unsure about the process, have trouble lifting the door, or encounter issues with other components such as the springs or cables, it’s a good idea to consult a garage door expert.
A professional will have the necessary tools and experience to handle more complex repairs safely and effectively.
Frequently Asked Questions
1. How long do garage door rollers last?
On average, garage door rollers last between 7 to 10 years, depending on the type of roller and how frequently the door is used. Regular maintenance can help extend their lifespan.
2. Can I replace garage door rollers myself?
Yes, replacing garage door rollers is a task that many homeowners can handle themselves with the right tools and safety precautions. However, if you’re not comfortable working on your garage door, it’s best to call a professional.
3. How much does it cost to replace garage door rollers?
The cost of replacing garage door rollers typically ranges from $100 to $300, depending on the type of rollers and the complexity of the installation. Professional installation may incur additional labour costs.
Conclusion
Replacing garage door rollers is a manageable task for homeowners who are comfortable with DIY repairs.
Whether you are experiencing issues with noisy operation, difficulty opening or closing the door, or visible damage to the rollers, replacing them is a simple solution that can restore smooth operation to your garage door. For homeowners seeking affordable garage door repair in Roselle IL, this is often one of the quickest and most effective fixes.
Regular maintenance and periodic roller replacements will help ensure that your garage door operates efficiently for years to come.
If in doubt, don’t hesitate to call in a professional for assistance to ensure the job is done right.

